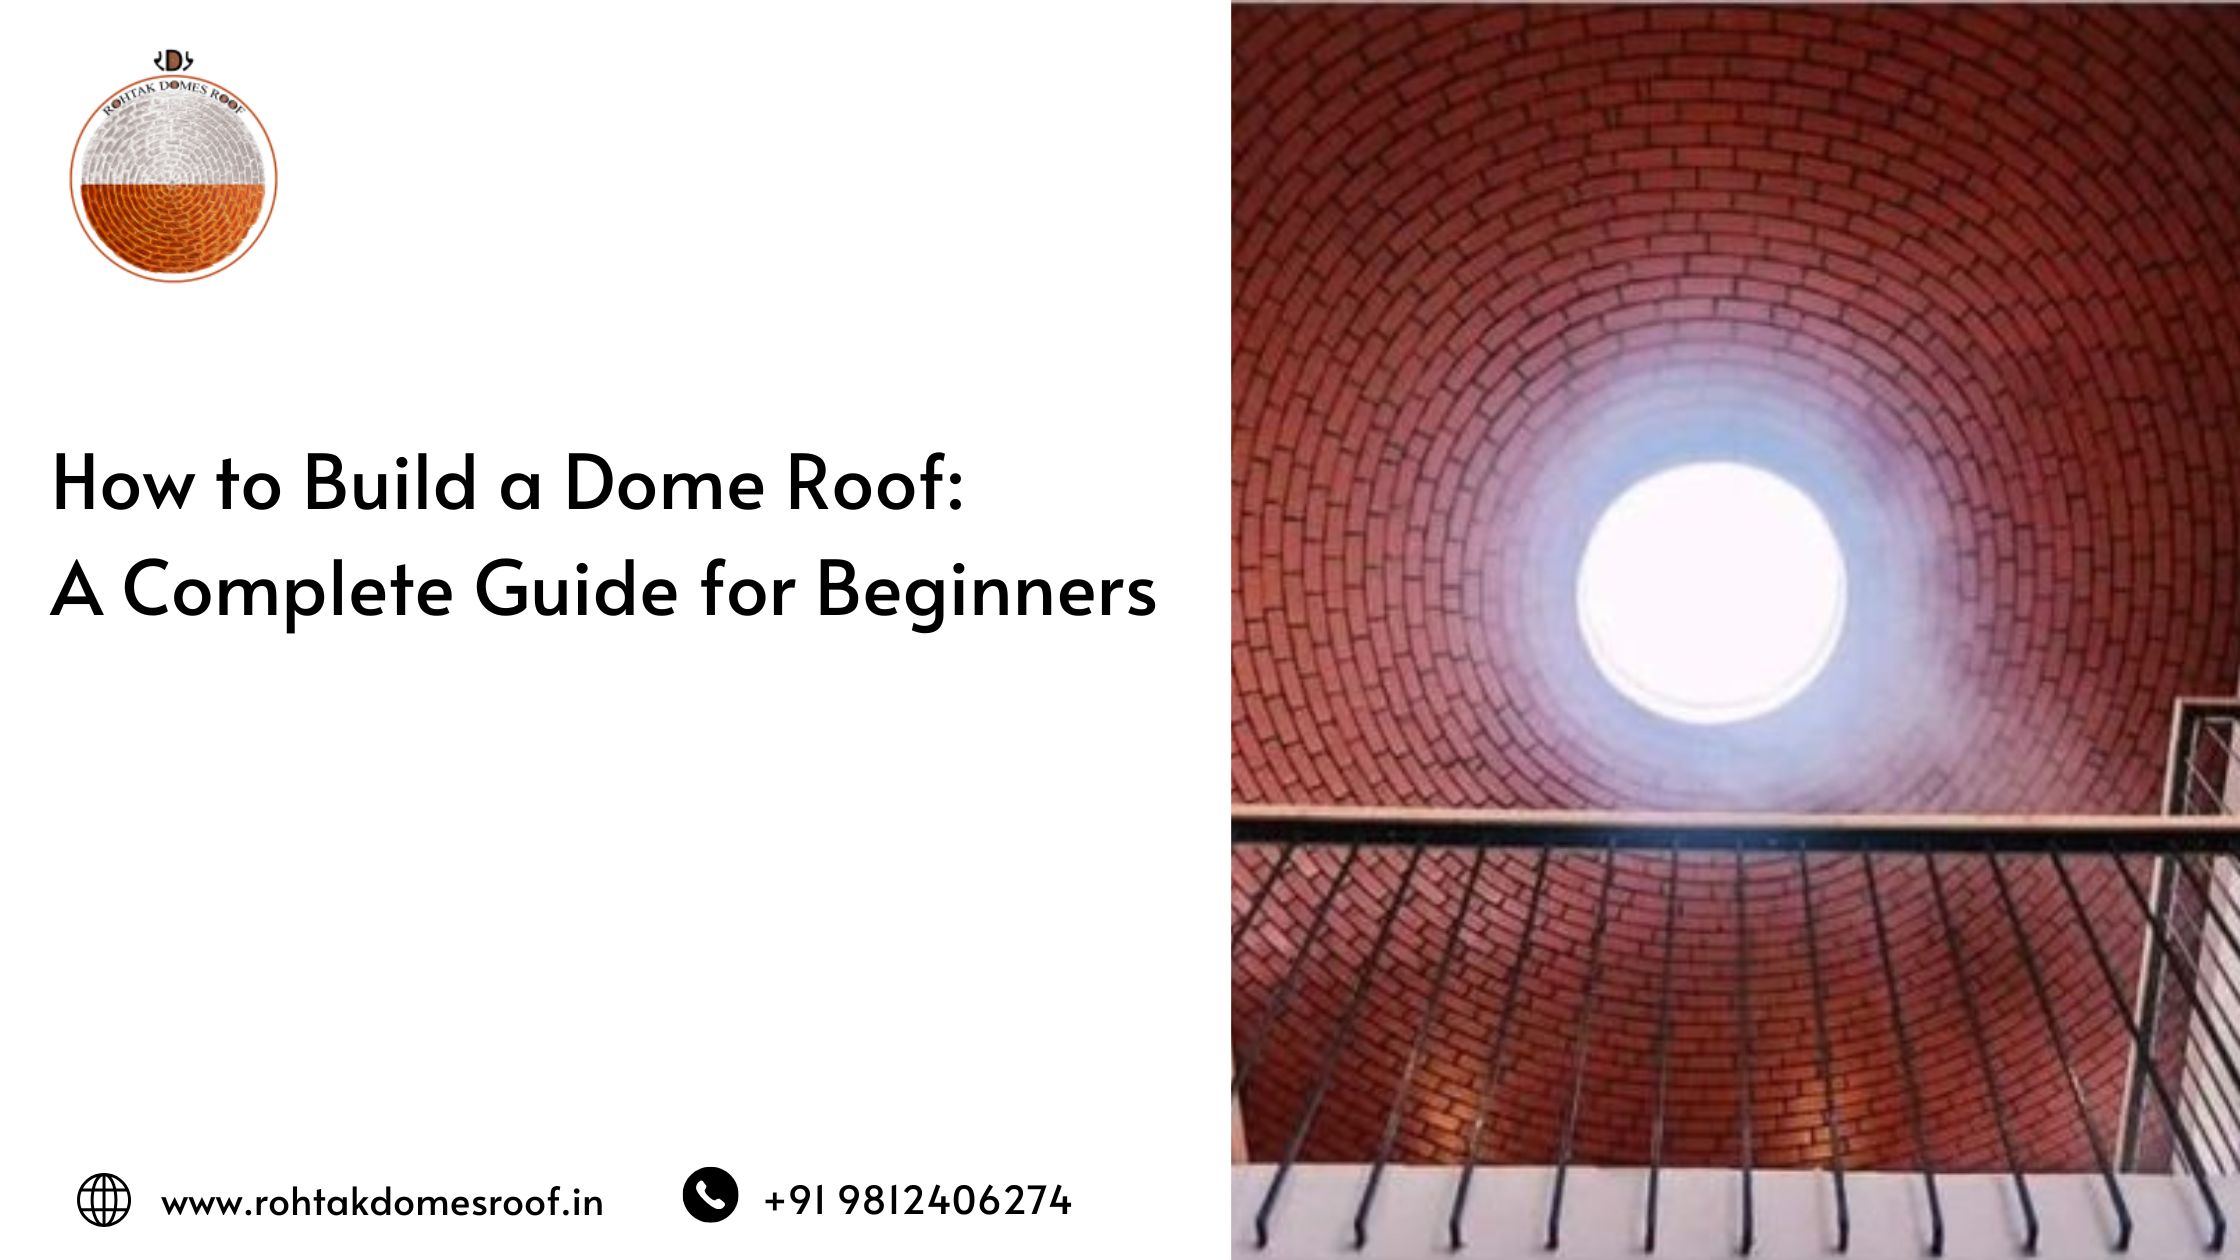
Dome roofs have been used for centuries in architectural wonders worldwide. They are known for their strength, beauty, and energy efficiency. Whether you want to build a small dome for personal use or a larger structure, the process requires careful planning and execution. Rohtak Domes, a leader in dome construction, specializes in crafting high-quality dome roofs that stand the test of time.
In this guide, we’ll take you through the essential steps to build a dome roof.
Process to Build a Dome Roof
1. Understanding Dome Roof Design
Before starting construction, it’s important to understand different types of dome roofs, including:
- Hemispherical domes – Traditional round-shaped domes.
- Geodesic domes – Lightweight and efficient, made from triangular panels.
- Onion domes – Popular in religious architecture with an elongated shape.
Each type has its own structural and aesthetic benefits, so choose one that suits your project.
2. Materials You’ll Need
Dome roofs can be built using various materials, including:
- Bricks and mortar – Traditional and durable.
- Concrete and steel – Ideal for large structures requiring high strength.
- Wooden framework – Suitable for small domes and temporary structures.
- Eco-friendly materials – Lime, earth, or recycled materials for sustainable construction.
Step-by-Step Construction Process
Step 1: Prepare the Foundation
A strong foundation is key to supporting the dome’s weight. Follow these steps:
- Clear and level the construction area.
- Mark the dome’s dimensions using stakes and a rope.
- Lay a concrete base with proper reinforcement.
Step 2: Build the Dome Framework
- Use wooden or metal arches to create a support structure.
- If constructing a brick dome, build a temporary wooden framework to hold the bricks in place.
Step 3: Layer the Building Material
- For brick domes: Start placing bricks in a circular pattern, gradually tilting them inward. Use a strong mortar mix for bonding.
- For concrete domes: Pour concrete over a dome-shaped mold or inflatable form.
- For geodesic domes: Assemble the triangular panels carefully, ensuring proper alignment.
Step 4: Strengthen the Structure
- Apply a reinforcement layer (such as steel mesh) for added stability.
- Use waterproofing solutions to protect against weather conditions.
Step 5: Finishing Touches
- Smooth the surface with plaster or coating.
- Paint or decorate the dome as per your preference.
- Install ventilation or skylights if needed for better airflow.
4. Benefits of a Dome Roof
Dome roofs are a great choice for various reasons:
✔ Durable and long-lasting – Withstand natural forces like wind and earthquakes.
✔ Energy-efficient – Natural insulation reduces heating and cooling costs.
✔ Visually appealing – Adds a unique touch to any building.
✔ Low maintenance – Less prone to leaks compared to flat roofs.
Conclusion
Building a dome roof requires careful planning, the right materials, and proper techniques. Whether for a home, temple, or eco-friendly project, dome roofs offer strength, efficiency, and elegance. Rohtak Domes specializes in crafting high-quality domes, ensuring durability and architectural beauty.
If you’re looking to construct a dome roof, start planning today and experience the benefits of this timeless architectural style!